
Ongoing Saga: #8
Main Hatch Storm Lock. I decided that our main hatch should have some better means of securing the hatch in the closed position and also for the storm boards to be securely held in place. On the top storm board (there are 3, one on top of another) I mounted simple ss slides so that, when the bolts are slid into their respective holes drilled into the side of the hatchway, they locked the top storm board in place.
For the sliding hatch, which is just a flat piece of acrylic, I drilled two holes, one on either side of the hatch, so that I could slide a pin down into a length of plastic beading that I had screwed to the sides of the hatchway. I can lock the hatch closed in this position by sliding the pin in place from either top or bottom, and if necessary, the person inside the boat can also slide the pin out without anyone’s assistance from the cockpit. I can also lock the pin from below to provide security and prevent anyone entering the inside of the boat eg when on a town dock in a place with doubtful security.
Flares. I needed to add to my considerable stock of rescue flares as they were all out of date. You cannot purchase flares in Portugal without going through a very convoluted and involved bureaucratic process as the authorities have designated flares as explosives. So, I guess if people there are interested they travel to another EU country, purchase flares there then bring them back to Portugal without declaring them. A very stupid policy. I might add you cannot purchase them via the web as it is illegal to mail them around the EU.
So, on our arrival in the Canaries (Spain), we were able to purchase a new set over the counter at the local chandlery. Apart from the obvious of having up-to-date flares on board, yesterday as I write this (15Apr18 at Brunswick Landing, Georgia, USA), we were boarded and inspected by the US Coast Guard as we approached our marina. They were happy that I had current flares and, interestingly, didn’t care about all the other out of date ones that were stored with them in our getaway bag.
Jordan Series Drogue. Years ago I had purchased a kit from Sailrite and laboriously attached 138 cones to the line they supplied. With the Atlantic crossing looming I decided to finish it off properly and have it instantly available in the cockpit to deploy whenever I needed to. There’s more to having a series drogue than just a line with the recommended number of drogues. A lot has been written about them since I purchased mine 10 years ago and some pretty good lessons have come out as a result of sailors using them under extreme conditions. Interestingly, many sailors did not agree on all aspects so I had to make some decisions myself. I also consulted my son, who is a rope access technician, and spend his work days with his life dependant on the lines he sets for himself. He had some good advice about rope stress points and where best to secure the drogue on the boat.
The attachment point for the bridle at the stern is very important ie it’s recommended that it needs to be something a bit better than the stern cleats or cockpit winches, although some boats have utilized these in extremes when they had to deploy their series drogue. I decided that the base of the legs of my standard stainless steel arch would be adequate. There are two base plates each side bolted (4/plate) to the deck with metal backing plates.
There is also much discussion whether one should rely on knots or utilize splices. Splices won hands down when it came to tests. I did need to rely on a knot where the bridal lines were attached to the arch and I chose to use a knot called the double fisherman's loop, which held up about the best in one particular testing by Yachting Monthly (YouTube video) that I reviewed ie it’s about as strong as an eye splice.


For the sliding hatch, which is just a flat piece of acrylic, I drilled two holes, one on either side of the hatch, so that I could slide a pin down into a length of plastic beading that I had screwed to the sides of the hatchway. I can lock the hatch closed in this position by sliding the pin in place from either top or bottom, and if necessary, the person inside the boat can also slide the pin out without anyone’s assistance from the cockpit. I can also lock the pin from below to provide security and prevent anyone entering the inside of the boat eg when on a town dock in a place with doubtful security.
Flares. I needed to add to my considerable stock of rescue flares as they were all out of date. You cannot purchase flares in Portugal without going through a very convoluted and involved bureaucratic process as the authorities have designated flares as explosives. So, I guess if people there are interested they travel to another EU country, purchase flares there then bring them back to Portugal without declaring them. A very stupid policy. I might add you cannot purchase them via the web as it is illegal to mail them around the EU.
So, on our arrival in the Canaries (Spain), we were able to purchase a new set over the counter at the local chandlery. Apart from the obvious of having up-to-date flares on board, yesterday as I write this (15Apr18 at Brunswick Landing, Georgia, USA), we were boarded and inspected by the US Coast Guard as we approached our marina. They were happy that I had current flares and, interestingly, didn’t care about all the other out of date ones that were stored with them in our getaway bag.
The attachment point for the bridle at the stern is very important ie it’s recommended that it needs to be something a bit better than the stern cleats or cockpit winches, although some boats have utilized these in extremes when they had to deploy their series drogue. I decided that the base of the legs of my standard stainless steel arch would be adequate. There are two base plates each side bolted (4/plate) to the deck with metal backing plates.
There is also much discussion whether one should rely on knots or utilize splices. Splices won hands down when it came to tests. I did need to rely on a knot where the bridal lines were attached to the arch and I chose to use a knot called the double fisherman's loop, which held up about the best in one particular testing by Yachting Monthly (YouTube video) that I reviewed ie it’s about as strong as an eye splice.


So I purchased new 18mm braided nylon line, spliced it then attached the bridle to the eye that I also spliced into the leader. The ends of the bridle I attached to the base of the arch. At the far end I linked a bunch of chain of various lengths that I had on board and moussed the shackles used to join them all. Finally I put it all into a bag (old sail bag) and secured it with line to various points on the pushpit and arch nearby.
In the event I had to use it I planned to flake the drogue on the cockpit floor before launching it or, if in a hurry, I could just deploy it straight from the bag but you can never be sure that it won’t become tangled and it’s too late if it’s on its way out being pulled by all the drogues filling. Anyway, I have never had to use it thank goodness but it certainly provides peace of mind knowing that it is all done and ready to go at very short notice.
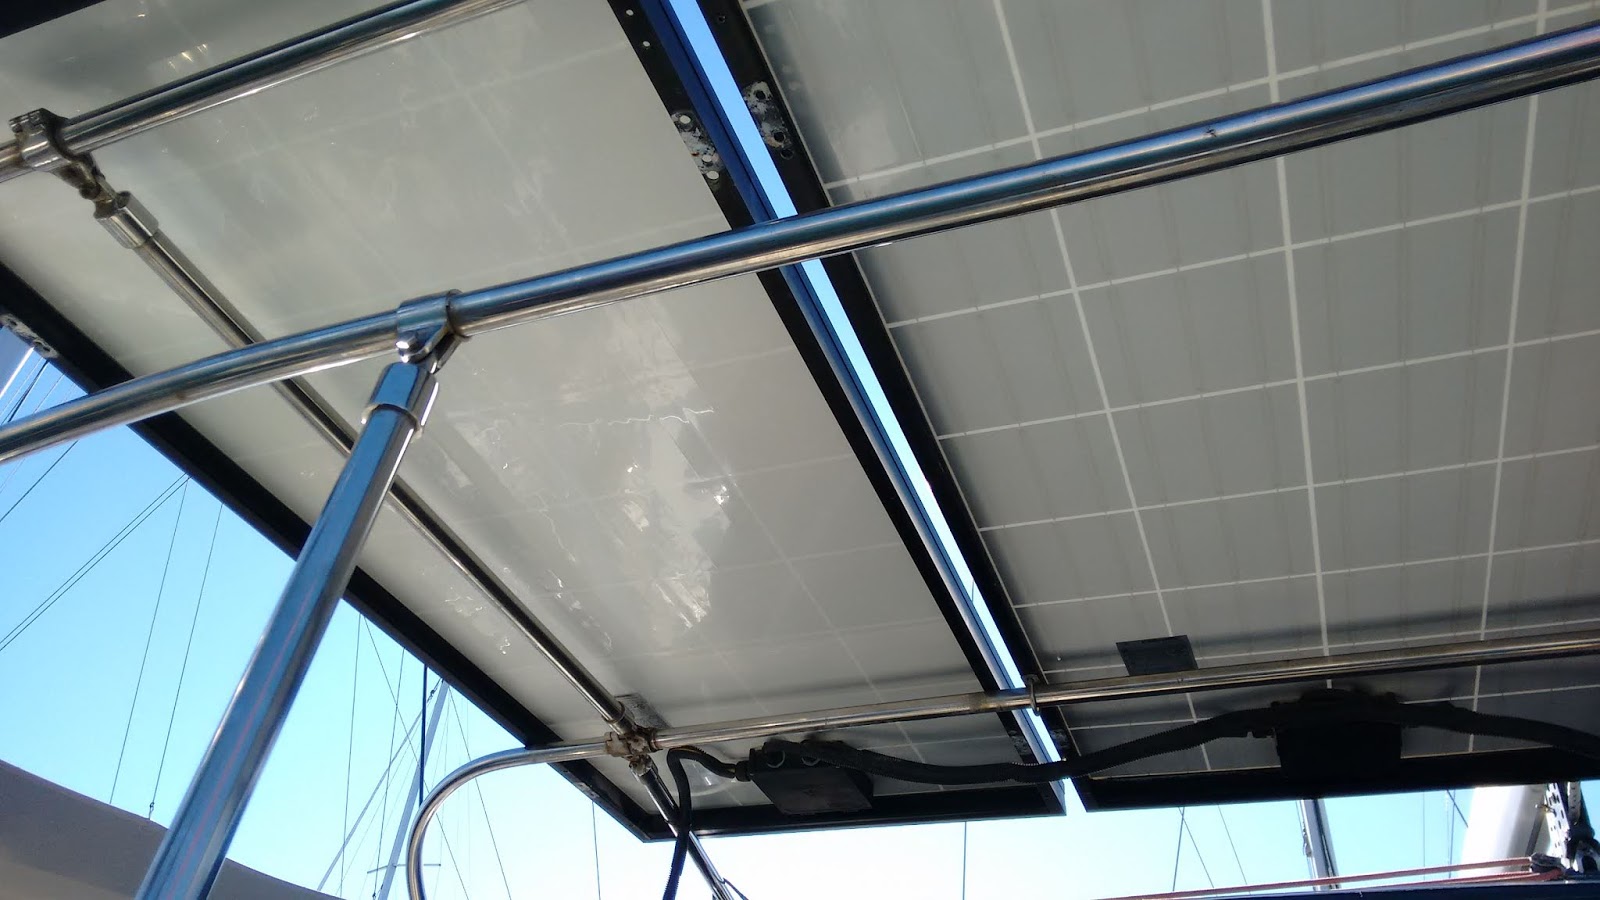
Hydrovane. Yes, it was time to put the Hydrovane back in business ready for our Atlantic Crossing. I find it adds an extra rudder giving me some backup if ever we need it too. It all fitted on well, except I noticed that the vane was connecting with our solar panel framing. Not good for the vane fabric. So whilst waiting for the mast repair to be undertaken, I used the time in Portimao Marina to move the solar panels forward a bit. Easier said than done. Time well spent.

In the event I had to use it I planned to flake the drogue on the cockpit floor before launching it or, if in a hurry, I could just deploy it straight from the bag but you can never be sure that it won’t become tangled and it’s too late if it’s on its way out being pulled by all the drogues filling. Anyway, I have never had to use it thank goodness but it certainly provides peace of mind knowing that it is all done and ready to go at very short notice.
Hydrovane. Yes, it was time to put the Hydrovane back in business ready for our Atlantic Crossing. I find it adds an extra rudder giving me some backup if ever we need it too. It all fitted on well, except I noticed that the vane was connecting with our solar panel framing. Not good for the vane fabric. So whilst waiting for the mast repair to be undertaken, I used the time in Portimao Marina to move the solar panels forward a bit. Easier said than done. Time well spent.
 |
| The Hydrovane (red vane) rubbing on the solar panels. Lots of kissing in the night! |
 |
| Moved further apart - all good now |
We have sell some products of different custom boxes.it is very useful and very low price please visits this site thanks and please share this post with your friends. powder fire extinguisher
ReplyDelete